So you’re an expert snowboarder, you’ve tried skiing, and you don’t have access to a snowmobile. What else could you possibly do to enjoy the snow? What about learning how to snowshoe? I know, when I first thought about trying it, I was like, “Is that even fun? Seems like a lot of work”. But let me tell you, snowshoeing can be an incredible amount of fun and a totally new way to enjoy the beauty of the winter season.
I really had no idea how to even begin, but fortunately a friend referred me to REI’s Outdoor School program. Online, I found information on their Introduction To Snowshoeing class. In one day, I would be equipped with the proper gear, receive instruction on how to use it, shuttled to and from the snowshoeing event and taught how to snowshoe. Since I was already an REI member I got the discounted class price which includes the gear rentals.
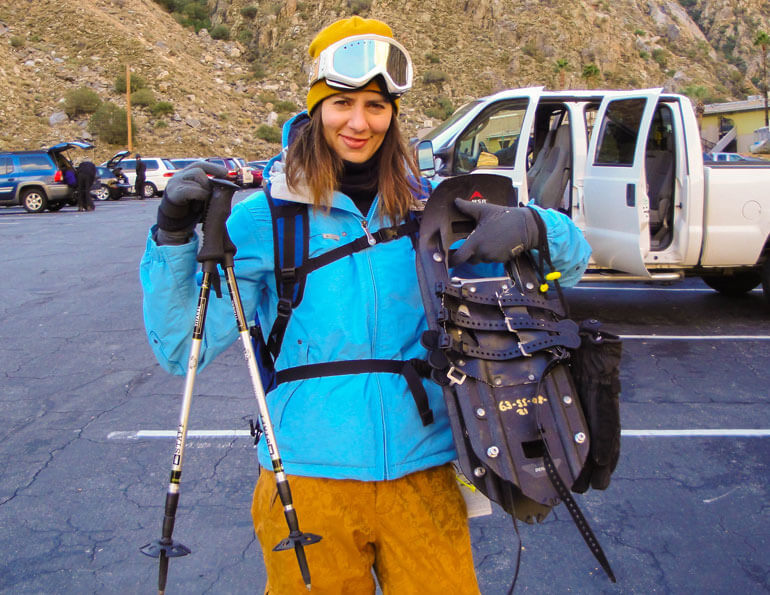
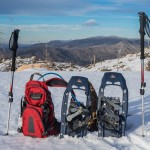
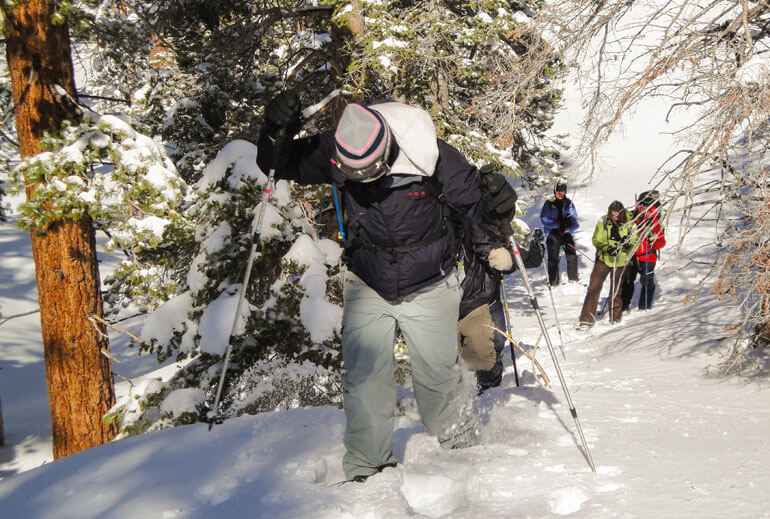
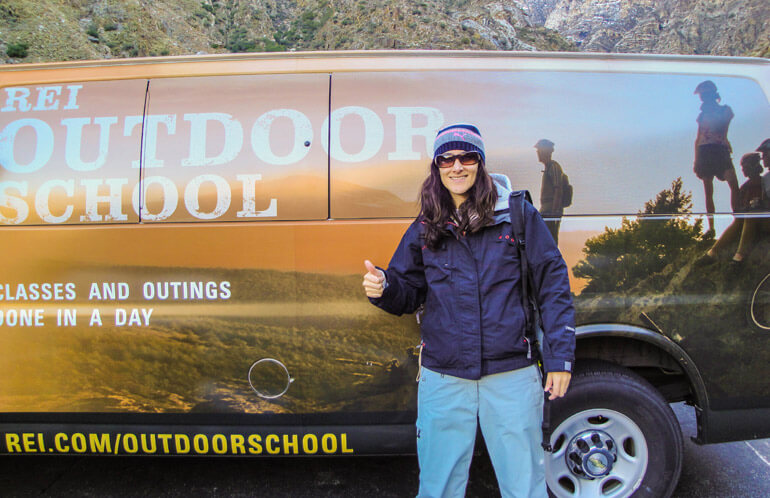
We met at the local REI store parking lot. The REI van was already there and as we arrived, we signed in and received the gear rentals. This included a pair of MSR Evo snowshoes and Black Diamond trekking poles. We were responsible for bringing the rest of the required gear ourselves. You see I’m all ready to go in the image above complete with warm hat, layers of warm clothing, waterproof jacket and pants, ski googles, waterproof gloves, and a backpack to carry water and food.
We were on our way to the Palm Springs Aerial Tramway that would take us up to the starting destination at the Mountain Station in San Jacinto State Park. Before the aerial tramway was constructed, the only way to get to the top of the mountain was to hike for several hours from Idyllwild. Today, the Palm Springs Aerial Tramway is the largest rotating aerial tramway in the world and it’s construction was considered an amazing feat of engineering. During the 12 and 1/2 minute ride to the top passengers get to view sheer mountain peaks from all sides while listening to an interesting historical narration. There is a fee to ride the tramway which is approximately $23 for adults.
Finally at the top of the mountain, our snowshoeing group hiked down to an area where we began our instruction. We had two guides from the REI school, one of which had avalanche safety experience. He had been warning us on the ride over of all the possible dangers that we might encounter with the storm that brought the snow. However, he was shocked at how beautiful the day turned out to be…blue skies galore. This was the perfect weather for a day of snowshoeing.
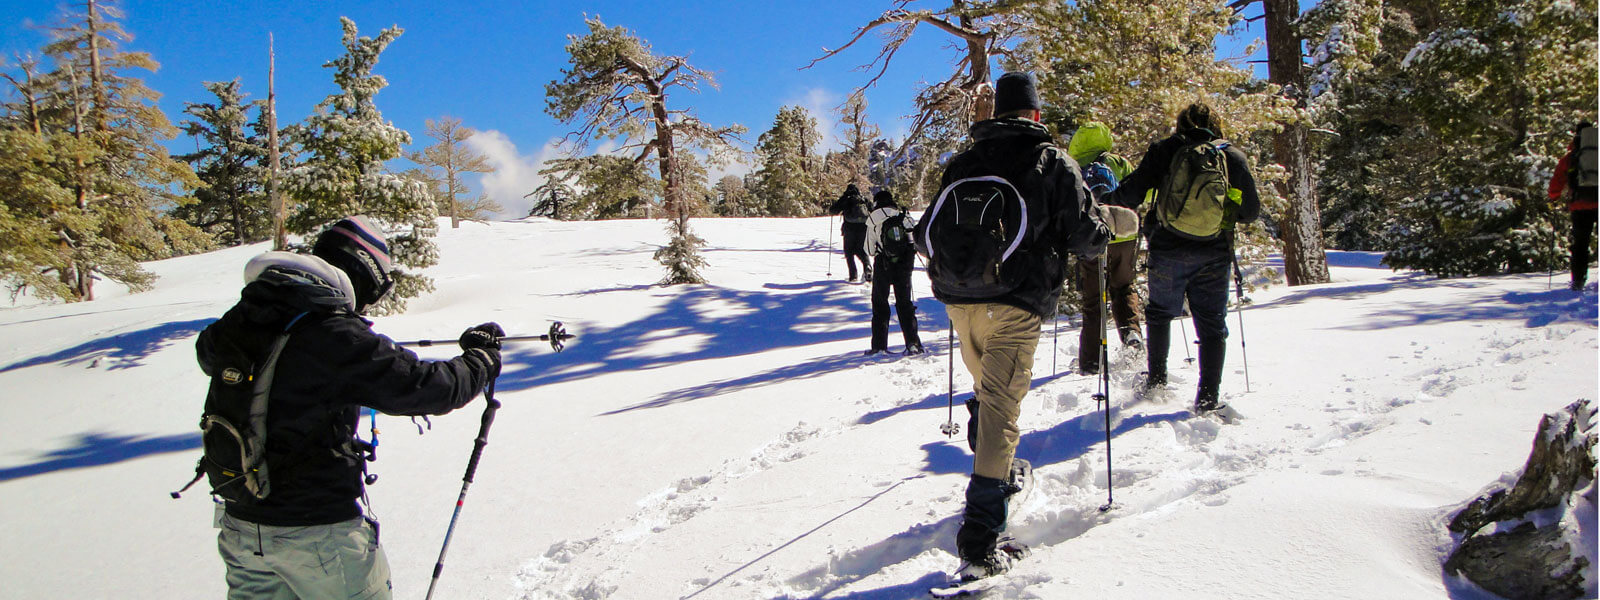
The first step was to teach us about our snowshoes. We strapped our shoes around our hiking boots and locked them in. Then our instructor showed us how to walk around in them and use the telescoping poles to help with stability. When you learn to ski or snowboard it usually takes a long time to learn how to move, but with snowshoeing it was as easy as walking. When you pick your foot up the back of the snowshoe will tilt downwards which is normal. This tilt provides leeway when you are climbing or descending a snow hill. Also there were metal claws under our shoe which helps dig into the snow for better traction. Once everyone had their snowshoes on, we began following our guide down a trail.
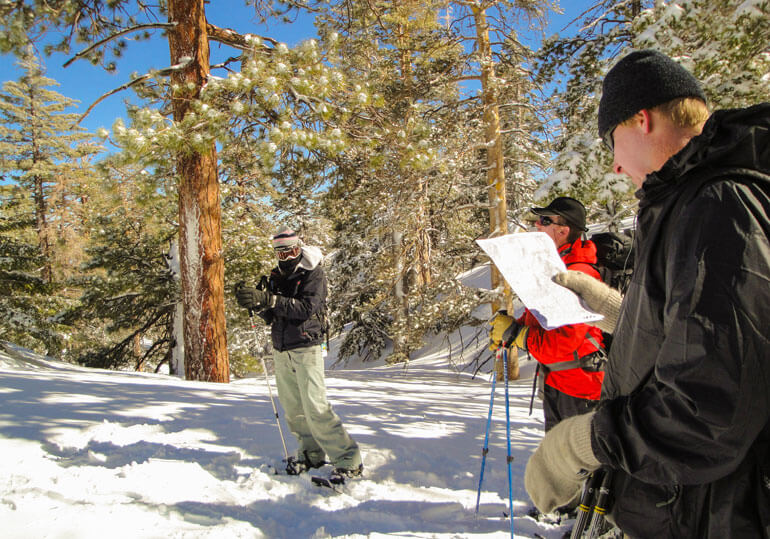
The trail was covered in snow, as was everything else around us. Even the trees had a good amount of dusting. It looked as though every branch, rock and twig had been coated under a deep soft layer of marshmallows. Fortunately, we could still see the trail due to the amount of people that had already traveled on it. Our guides used topographic maps and compasses to navigate us to different checkpoints. They gave us a quick lesson in navigation that I vowed I would try to learn again someday.
Our guides then showed us how to ascend the snowy hills. Basically the easiest way to do it is to traverse along the side of the hill in a series of self made switchbacks till you reach the top. There is a temptation to just march in a straight line from the bottom of the hill to the top of the peak, but you will quickly loose energy this way. One of the guides dared us to try and he was right. It was much harder to climb that way.
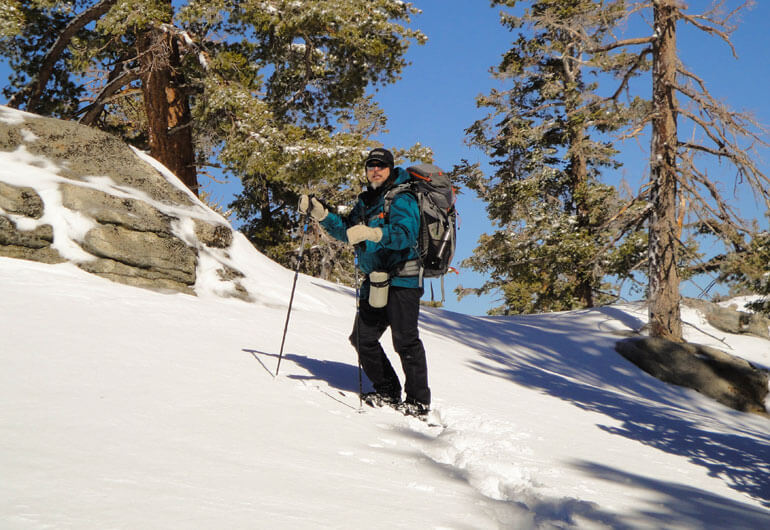
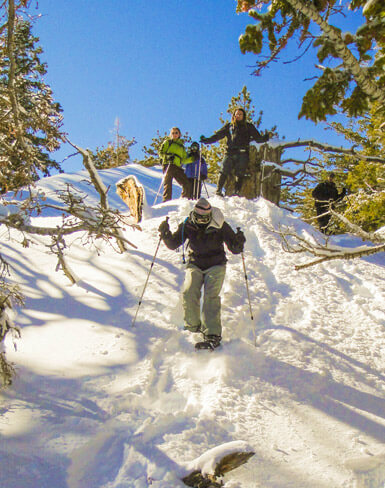
We found a few steep slopes to climb. Without snowshoes it would have been difficult if not impossible to reach the tops of these hills. But with the snowshoes, it was as if we had a new superhero power. Any place that was covered by snow we could easily climb. In the image above, look how deep the snow is. The trekking poles not only help to stabilize us as we hike, but can be used to test the snow depth and make sure the ground is safe to step on. This snow was very soft and loose since it had just snowed the night before. If you are in a more technical area where there might be solid ice or crevasses, you should be using different gear such as crampons and an ice axe.
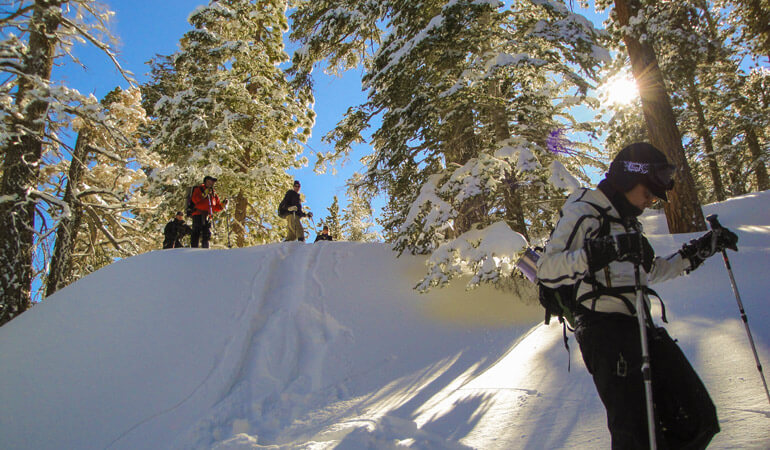
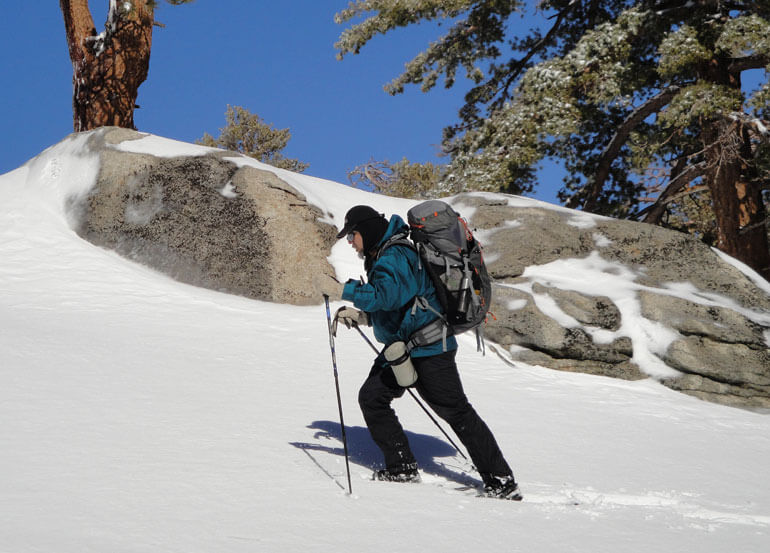
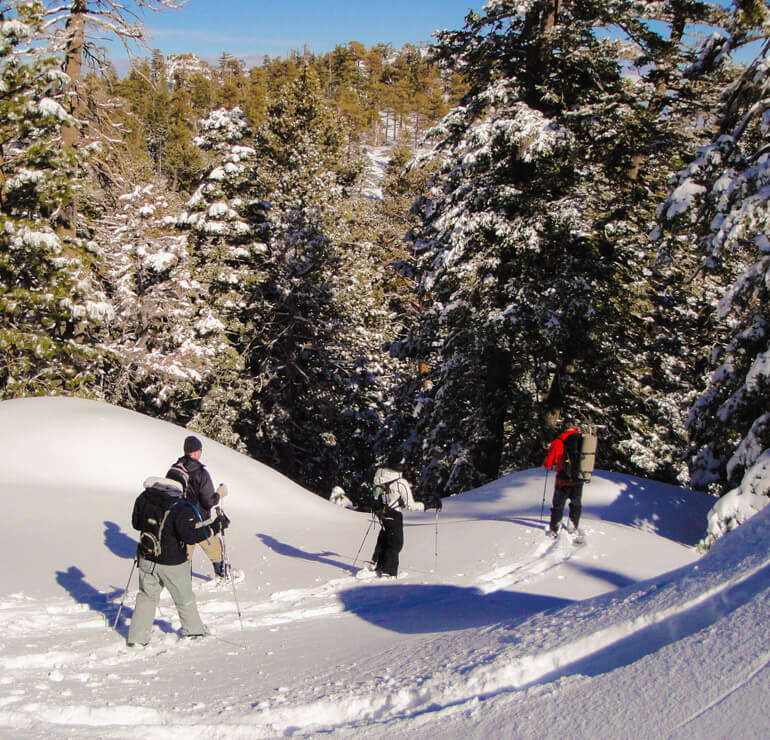
Our next lesson was how to descend snow hills. This was by far the most fun skill we learned. Basically you just sort of lean back while keeping your knees bent. Take small steps and you may begin to glide down the hill. When this happens just spread your stance fore and aft and enjoy the glide.
This image shows a good demonstration of how to properly glide down a snow hill. We began on small hills until we got the hang of it and began looking for steeper hills to glide down. Everyone took turns encouraging each other till we were pretty confident at it.
After hiking for several hours, we had worked up quite an appetite and were ready for a break. Our guides took us to an area on the side of the trail where we could sit down and open up our backpacks. We were to provide our own lunches. Most people had packed simple sandwiches and some fruit and water, but we decided to buy roast beef subs from Stater Brothers market before the trip. I think the others in our party were kind of jealous because the subs were delicious and large making it a much more filling meal than a small sandwich. You will get pretty hungry after hiking in the snow so I suggest do yourself the favor and bring a filling meal for lunch. Also I can’t stress enough to bring enough water with you. Just because you’re out in the cold snow does not mean that you won’t get just as thirsty as a warm day hike. This is were a good water bladder or Camelpak comes in handy.
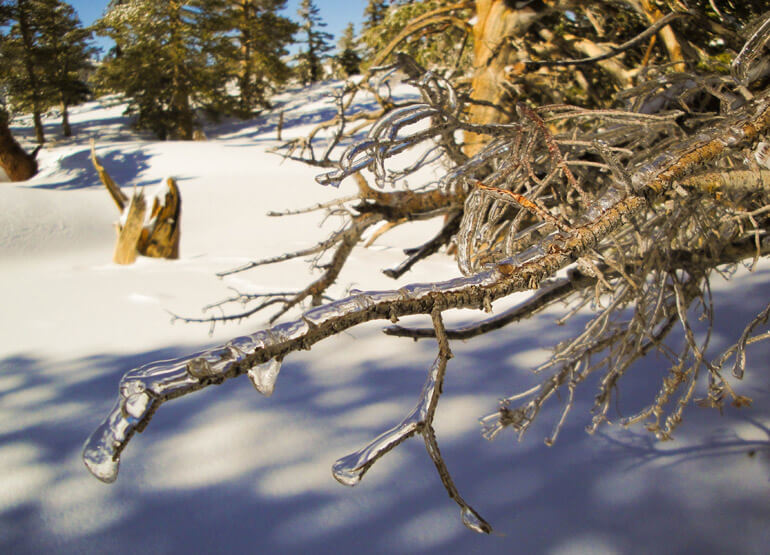
As we sat around and finished our lunches we began to really look around us at the beautiful winter wonderland. It was so peaceful that we were in an area with relatively no people. This trail is probably packed during the summertime, but now it was serene and quiet. It was very cold outside although the sky was blue. Ice and snow was still blanketing the trees. A few birds chirped nearby, landed to pick up some twigs, then flew away. I looked around for any other signs of wildlife, but realized our group would probably scare them away with the noise we were making. If you come to San Jacinto area, I’ve heard there are bear, mountain lions, deer, bighorn sheep and rattlesnakes. Of course during this time of year, bear are probably hibernating and rattlesnakes are dug deep in their holes or caves.
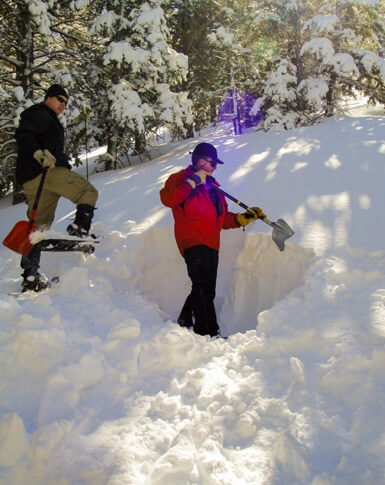
For our final lesson of the day, one of our instructors began talking to us about avalanche safety. This is especially important information for anyone hiking in backcountry areas and right after significant amounts of snow have fallen. He began to dig a snow shelter with his shovel. It was hard work after all the hiking, but soon he had quite a good size pit dug out. Knowing how to construct a snow shelter could be a vital survival skill to protect against the harsh weather in case of an emergency. He showed us how deep to dig and to always (if possible) have someone with you in case a collapse should occur. His shelter was small and did not form a small cave, but he showed us how to continue digging to create the cave that we could sleep in overnight should the need arise. Well it didn’t look like we were going to have any weather problems today so we headed back on the trail towards the Mountain Station starting point.
On the way back there were plenty of opportunities to practice the skills we had just learned. One of the main things I learned was that snowshoeing can be a slow paced leisurely winter adventure if you want it to be. Of course you can speed things up or set a distance to accomplish to make it more challenging too. The best part of the whole experience was that we were outside, enjoying a beautiful day during the winter. Usually winter made me sad because it kept me away from the great outdoors, but with snowshoeing, I could now enjoy a winter hike just as much as a summer hike.
Back at the REI van, we removed our snowshoes, turned in our trekking poles and thanked the guides for enlightening us with a new winter sport that I was certain I would do again every season. REI did a fabulous job of putting this trip together especially since we were beginners. Since then I have enjoyed many other snowshoeing hikes and still remember the skills I learned through the REI Outdoors School.